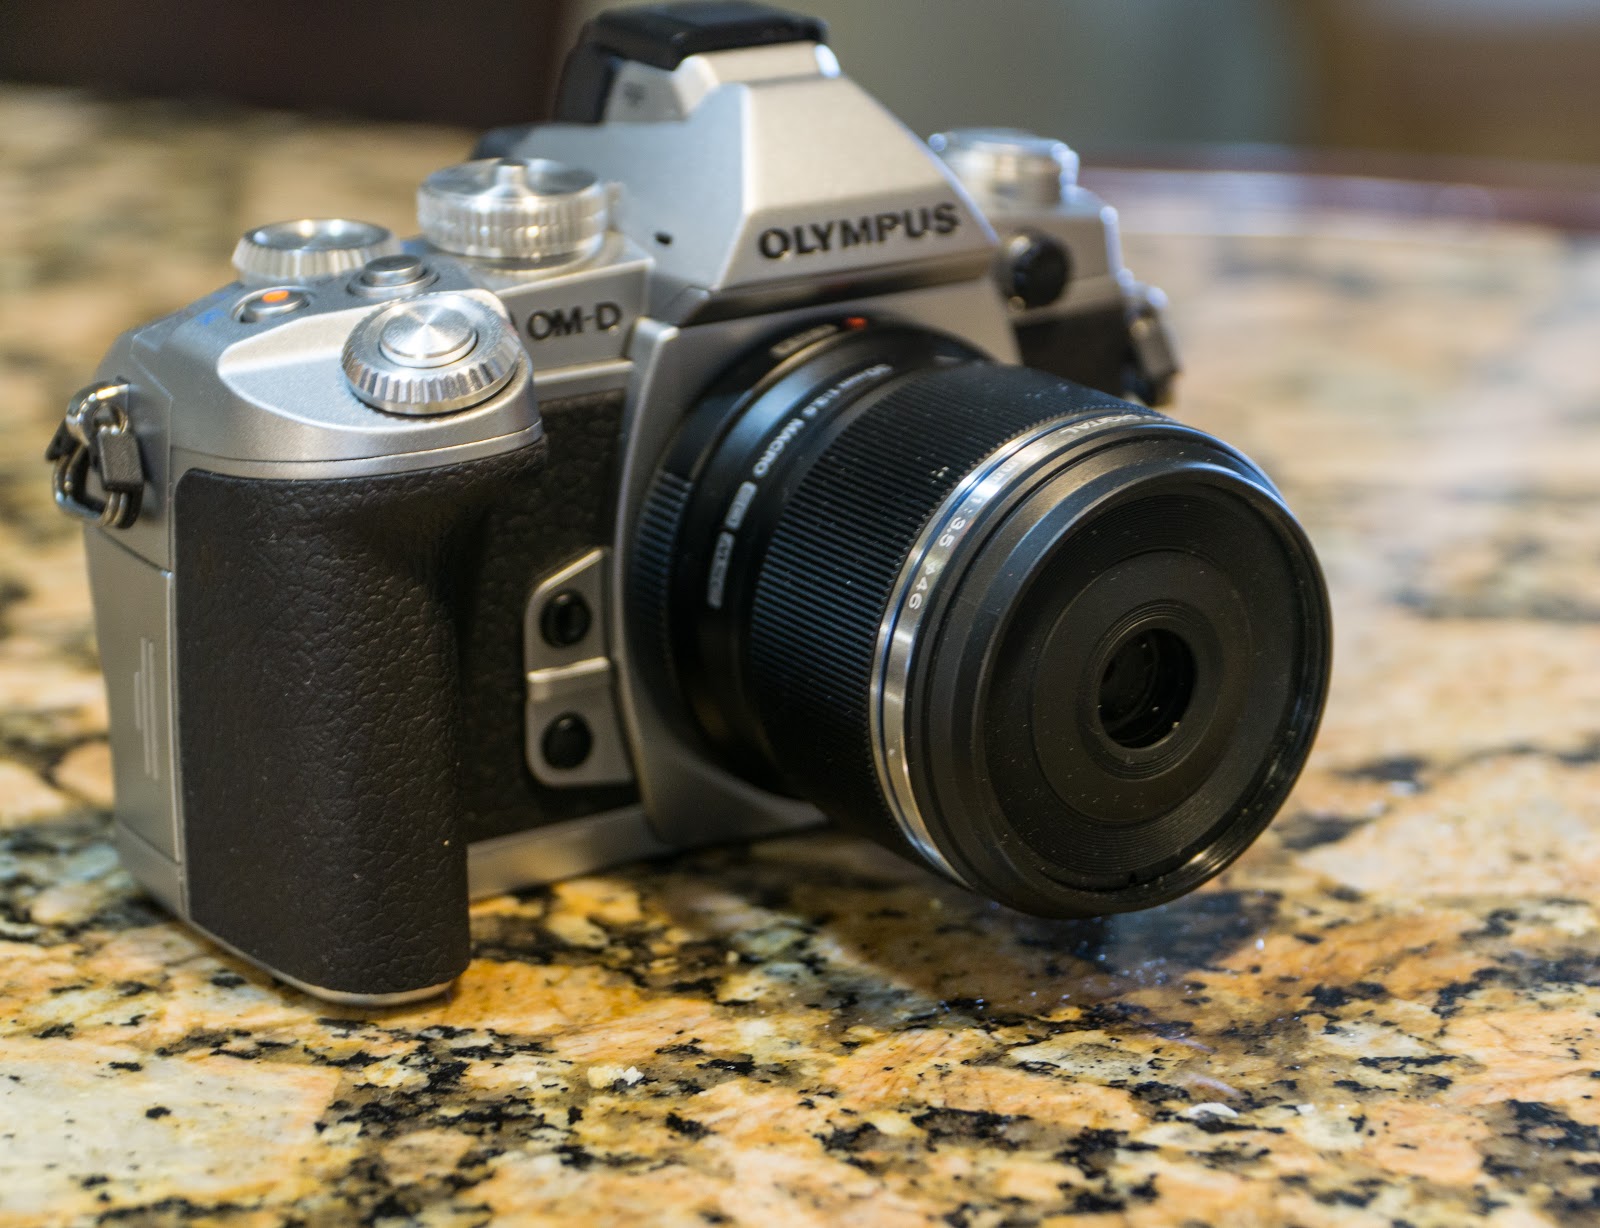
Focus Stacking with the Olympus EM1 MKII and 30mm f/3.5
by Tim Bradbury
Olympus has to my mind been one of the true pioneers in digital photography. They (and Panasonic) dared to go to a smaller sensor, gambling that the size and weight of equipment mattered to many of today’s photographers. It certainly does to me, an eager enthusiast who loves travelling light.
They continue to innovate, and one of those areas of innovation that I believe will continue to grow is handheld photography. I think digital photography isn’t far from eliminating tripods from a lot of shots, with combinations like the Olympus 12-100 stabilized lens with the EM 1 11 cameras leading the way. People are taking 5 second exposure nighttime shots showing streaking car lights in a fixed city-scape, and doing it hand held.
However, Olympus has yet to eliminate the tripod from things like its multiple exposure high res shots. Which brings me, in a roundabout way, to the purpose of the article – focus stacking. Of all the things focus stacking has to offer, perhaps at the top of that list is that it can be done with remarkable effectiveness handheld. I don’t pretend to be any kind of photography expert, but have been working pretty extensively with the focus stacking capabilities of the Olympus.
In this review, I am going to explore the following;
-using the 30mm Olympus macro lens
-comparing normal macro shots and focus stacked macro shots
-comparing stacked shots done on the Olympus automatically to the same shots stacked manually in Photoshop CC
-exploring the handheld capability Olympus focus stacking allows
The Olympus 30mm f/3.5 macro lens has sort of slipped under the radar, I suspect for two main reasons; some people see the f/3.5 maximum aperture as limiting, and it looks a little weird, with that tiny lens opening perhaps not inspiring confidence. However, this unimposing lens has a magnification factor of 1.25:1.
Surprisingly, even though it isn’t classed as one of the Olympus Pro lens line (no weather protection for example) it is one of the select few of their lenses that works with focus stacking, and certainly the most affordable of them.
I have been doing a lot of macro shooting lately, and am learning to appreciate the cleverness behind the design of this little lens. As you get closer to a subject you quickly discover that often the last thing you want is less depth of field – ironically, you are usually looking for more, as you try to get something more than the width of a few eyelashes in focus.
It is a conundrum of macro photography; if you want a lovely blurry background (and of course you do – that’s why people buy f/1.4 macro lenses) you often end up with too little of your subject in focus, especially as you get closer to it, which of course is the whole idea behind macro photography. If you then try to get more of your subject in focus by narrowing the lens aperture, you lose the nice bokeh. The solution is sometimes to take multiple pictures with different focus points (using a tripod) and then ‘stack’ them into one picture using software like Adobe Photoshop.
Olympus does it all in camera with one push of the shutter. It takes eight pics in sequence and then merges them into one ‘stacked’ picture. It is worth noting that if you shoot in raw, the final stacked picture is always a JPEG, which is generally fine as long as you get reasonably close to your final settings for exposure and white balance and the like in advance.
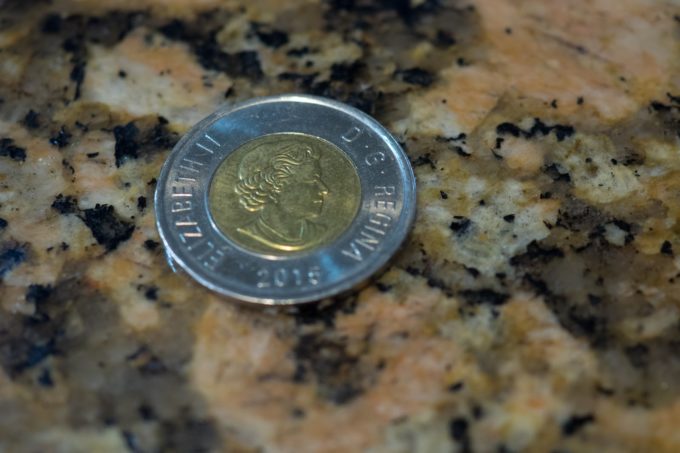
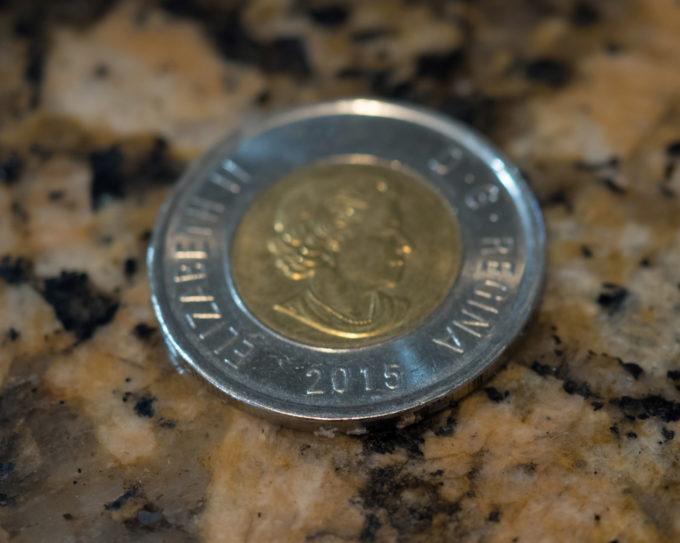
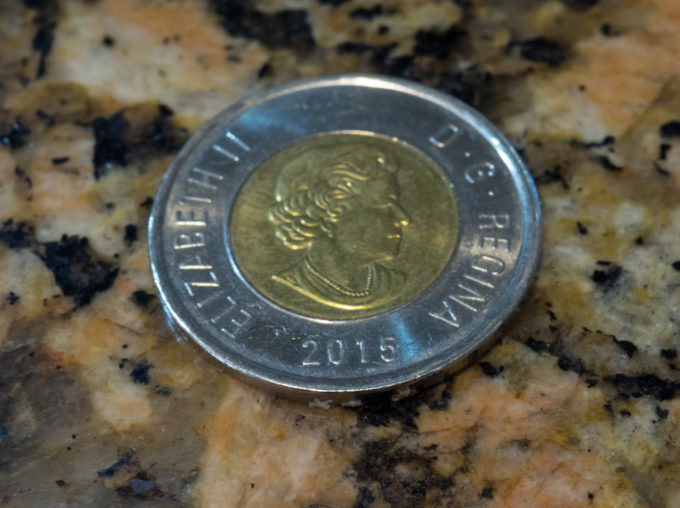
So let’s get to some pictures. Here are some close-in shots of a coin. I’ll note that for these shots, as the exact point I was focussing on had to be duplicated, I rested my forearms on the countertop that the coin was on – but the shots are still handheld with me manually clicking the shutter.
30mm macro f/3.5, ISO 400, 1/50 sec
This next shot shows the same thing shot at f/10 instead of f/3.5, and the other side of the coin is exposed (sorry) – more focus, but with a lot of the macro magic gone.
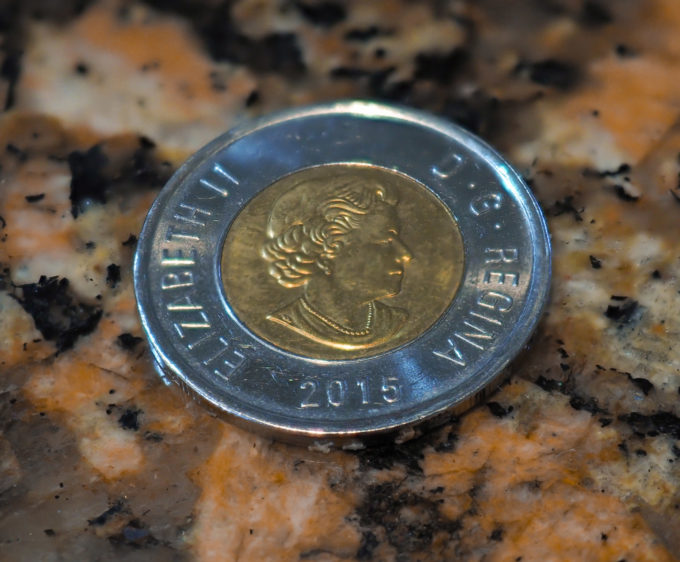
The Picture above is the same picture with the exact same settings as in the 1st picture, but it is shot using focus stacking – to my eye, it is a lovely combination of soft macro feel and expanded detail. Also note the added 3D effect evident in the granite countertop – it has a greater appearance of depth than in the other pictures.
The next 8 shots are the individual shots the Olympus used to create its stacked shot from. (By the way, for the mechanics of how to set up and shoot with focus stacking, please refer to the fine review by Peter Baumgarten on this site here; http://www.stevehuffphoto.com/tag/focus-stacking/. My settings are with the focus differential set to 3)
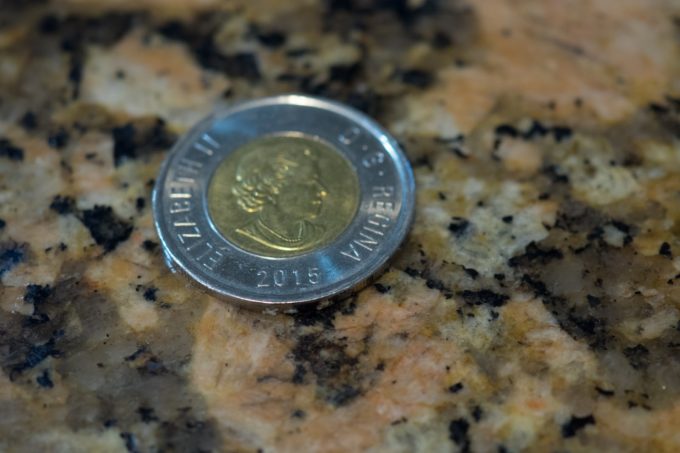
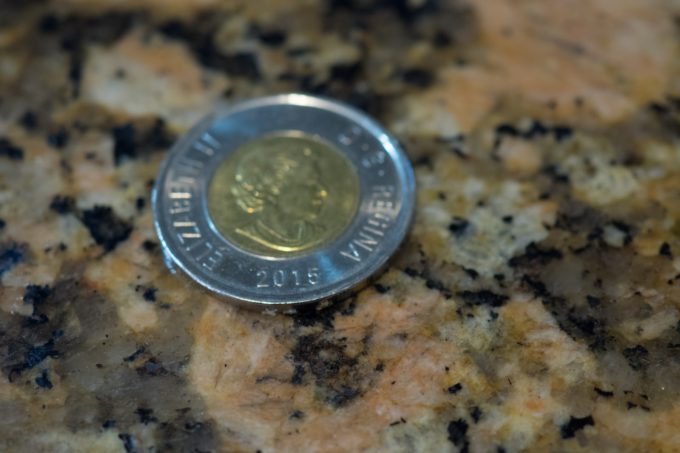
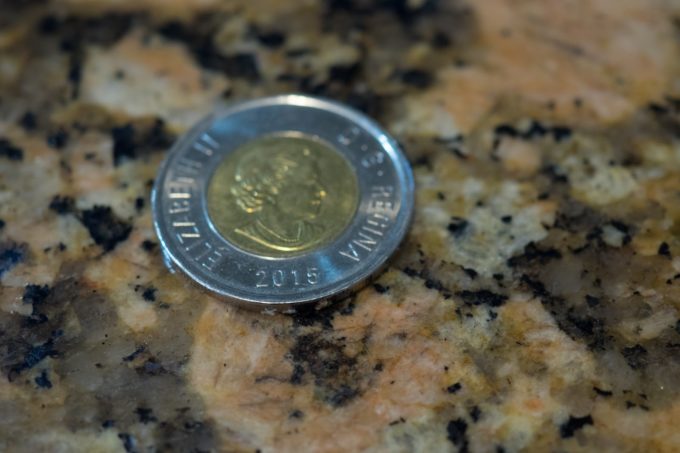
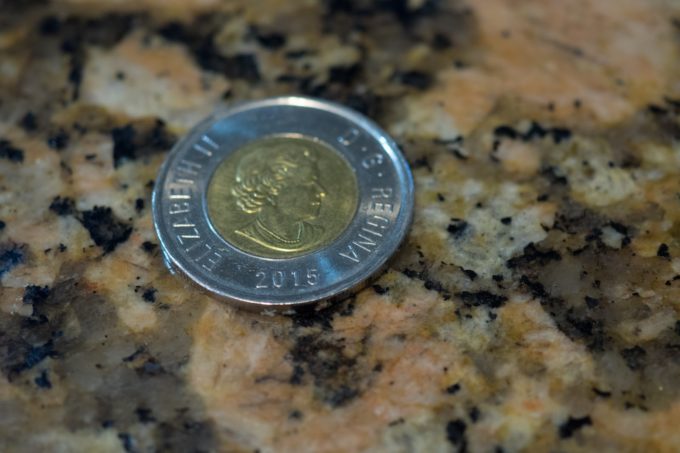
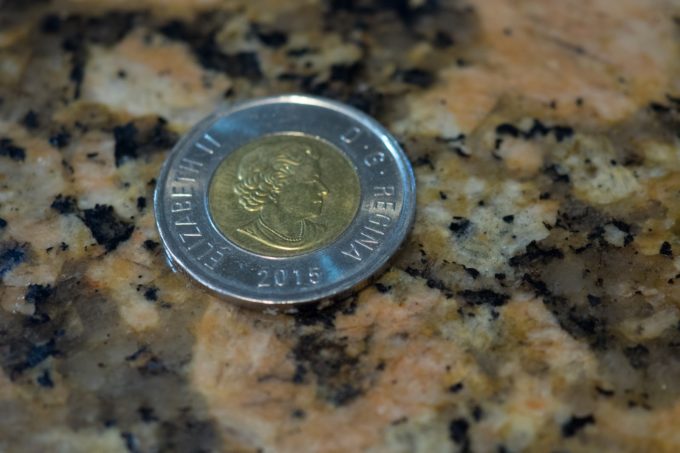
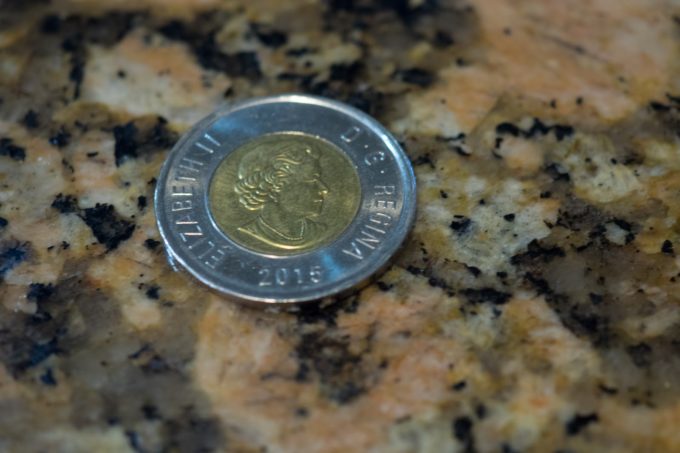
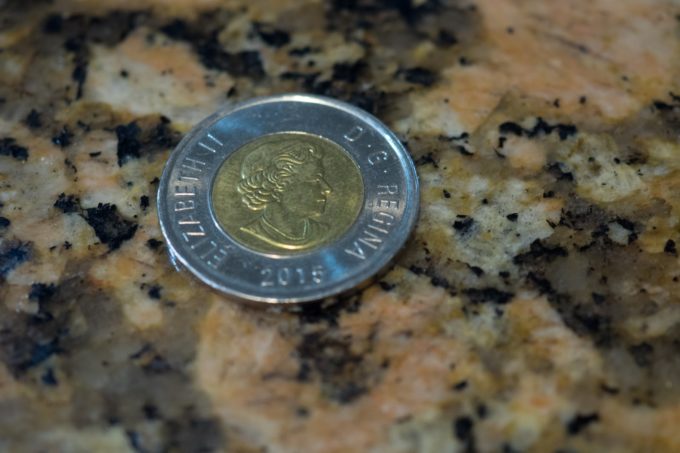
I have learned, from experience, to make my focus point near the front of what I want in focus when doing these shots. As you cycle through the eight pictures above, you will notice that the focus starts at what you focussed on, moves once slightly towards the front, and then progressively to the back. You may also notice (it’s a little hard to see here) that it isn’t just the focus that changes – the image sometimes slightly skews itself as it moves through the progression of shots. I have no idea why – perhaps someone at Olympus could explain or perhaps it is a carefully guarded trade secret. I do know it isn’t a result of movement on my part as the same thing happens when the camera is supported and dead still. In any case, it works, as the final stacked shot shows.
Let’s try a different alternative – let’s take the same eight shots that the Olympus uses to make its stacked picture, put those eight shots in Photoshop, stack them there and compare the result. You will need Lightroom and Photoshop CC to do this. In Lightroom, simply highlight the eight shots preceding the final stacked image on the film strip at the bottom of the screen (note that sometimes, and randomly, the stacked image is placed at various locations amid the eight other images – it is always a bit bigger and is of course a JPEG – and if that happens just move it to one end or the other of the eight shots before highlighting them. If you can’t move pics on the strip, sort it by file type or flag the ones you want). Once the eight shots are highlighted (left click – shift/left click), then right click over the images (or go to the Photo menu) and the long Photo menu will appear; move the cursor over ‘Edit In…’ and select ‘Open as Layers in Photoshop’ from the bottom of the list that appears. Now you wait. It takes a while, depending on your computer, but after maybe three minutes you will be in Photoshop with the eight pictures nicely placed in eight individual layers in one picture. If you choose to view them all with the little eyeball icon to the left of the layer, you will notice something right away – the picture isn’t in focus. It looks the same as if you chose Merge or Flatten from the Layers menu – it is simply merging all the out of focus shots, not correctively stacking them.
To do that, you have to highlight all the layers (left click – shift/left click) and go to the ‘Edit’ menu – under there, you will find ‘Auto-Align Layers…’ and ‘Auto-Blend Layers…’ Note that they won’t be highlighted unless you have selected the layers first. It seems to work best to Auto-Align first (pick Auto when asked) before Auto-Blend (pick Stacked when asked). Neither is particularly quick, so be patient. However, once you are done there will be a blended picture (assuming you have all the layers as visible i.e. eyeball icon on) that looks somewhat similar to the Olympus one. You may also have a new layer on top, that is the mixed and accumulated shot of the eight layers below. You will notice that the eight layers are now broken down into different and smaller areas of the picture, and you can individually edit those areas.
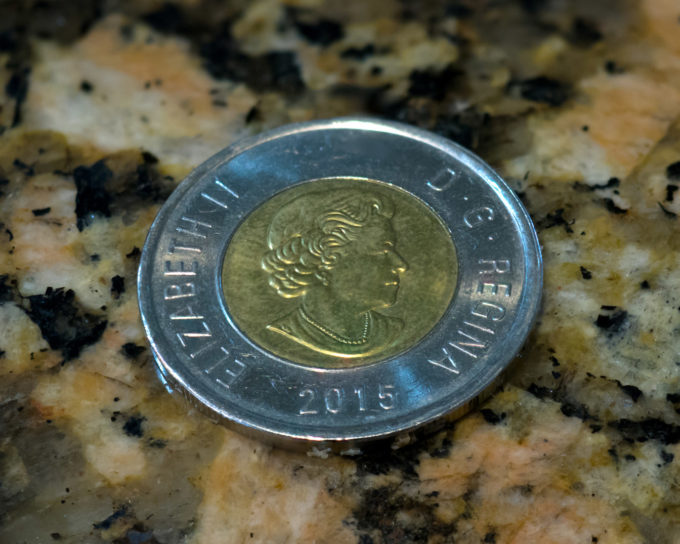
Simple, right? And worth it? Hmmm. Having done this quite a few times, errors can crop up – sometimes the alignment isn’t perfect, sometimes the focus isn’t perfect. Basically, after 30 minutes worth of work (and that’s using the single shutter click with the Olympus for the eight pictures as opposed to manually adjusting the focus and taking eight individual shots) it looks a bit different, but arguably no better or no worse.
Photoshop stacked shot.
Most pointedly, the Olympus stacked shot is the best one, other than the f/3.5 normal one at giving the feeling of the focus moving to a blurry background, while still gaining a greater area in focus – it also has that wonderful 3D effect that doesn’t really happen with stacking in Photoshop (this picture). I’m sure with more fine tuning and effort on my part the Photoshop stacking could work even better, but for me the question would be, why? The answer might be to super fine-tune the image using the individual layers, but I usually love the results I get right out of Lightroom with the camera doing all the work is seconds.
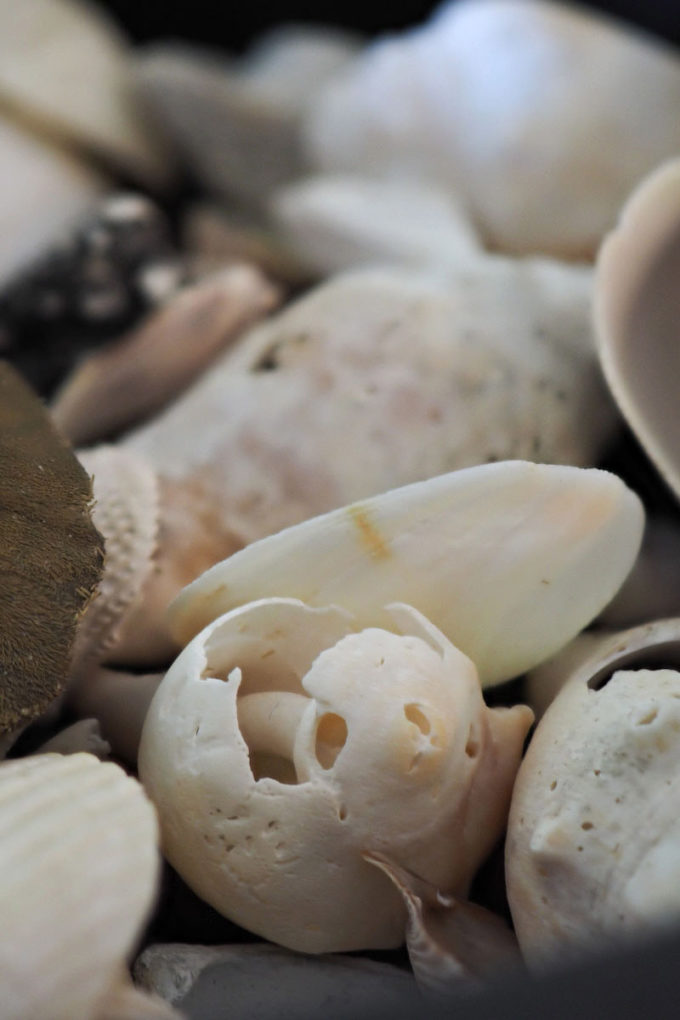
Here are two shots of some seashells. We are quite close as the lower central seashell is about an inch wide.
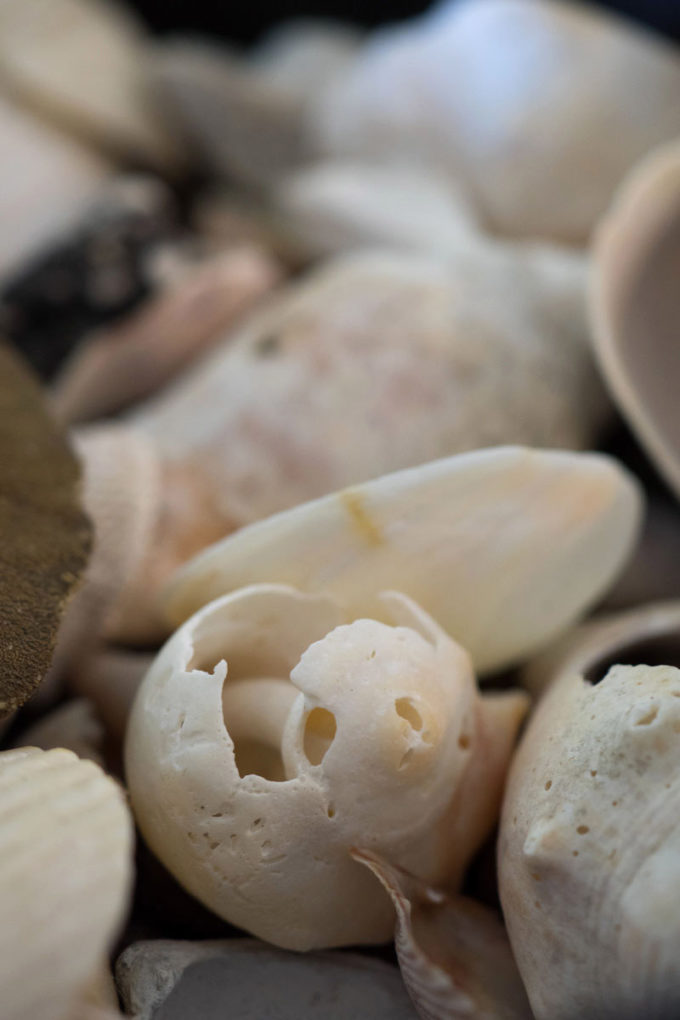
So, to my eye, as mentioned before, focus stacking brings a 3D effect to the pictures it is used on. Perhaps that 3D is a result of the slight skewing of the individual frames?
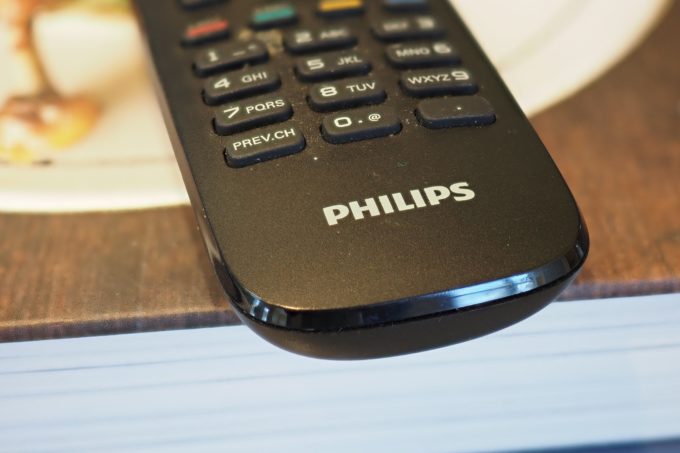
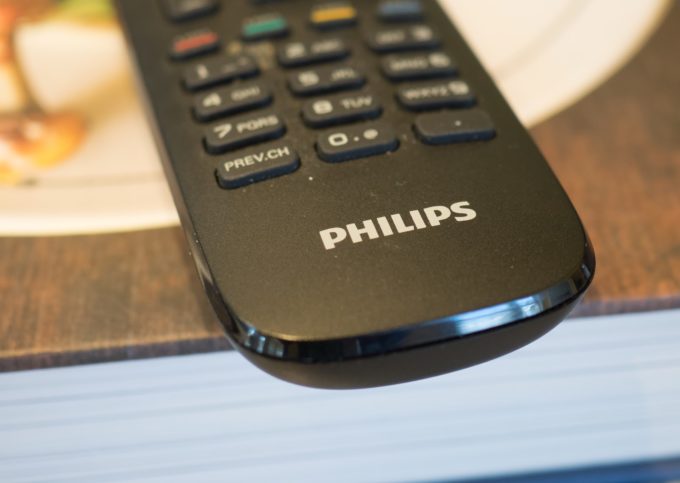
These two unprepossessing pictures of a TV clicker (below) sort of subtly tell it all I think; the background book the clicker is on is near identical in both pictures, but the stacked picture (first of the two) not only has a greater depth of field but a greater sense of actual ‘depth’ with the buttons and the whole clicker.
And lastly, using the Olympus focus stacking handheld (which was done for all the shots in here as well). I made a point with these shots of using the LCD to focus, not the viewfinder, and holding the camera away from my body and unsupported. I find the results remarkable.
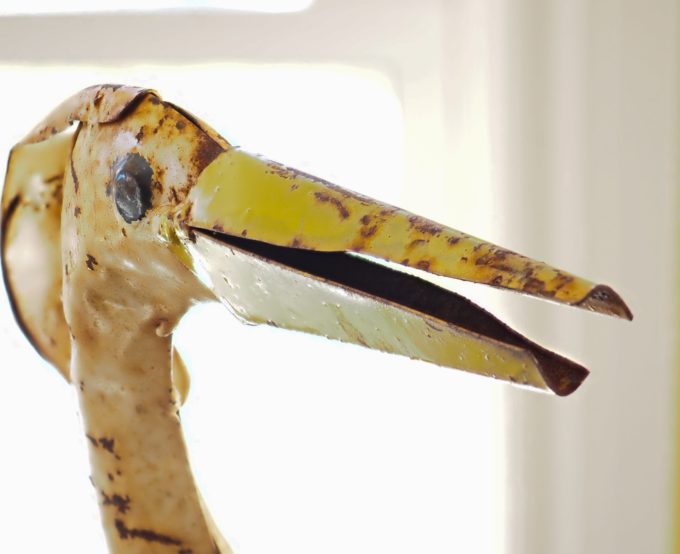
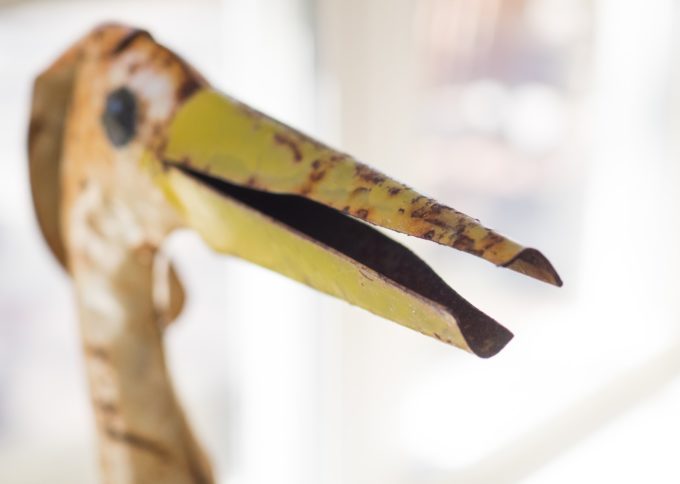
Above, F/3.5, ISO 400, shutter speed 1/60 sec. The window and wall are 18” behind the bird, but is a perfect blur while the bird itself – a good 8” deep – remains mostly in focus while still softening at the back.
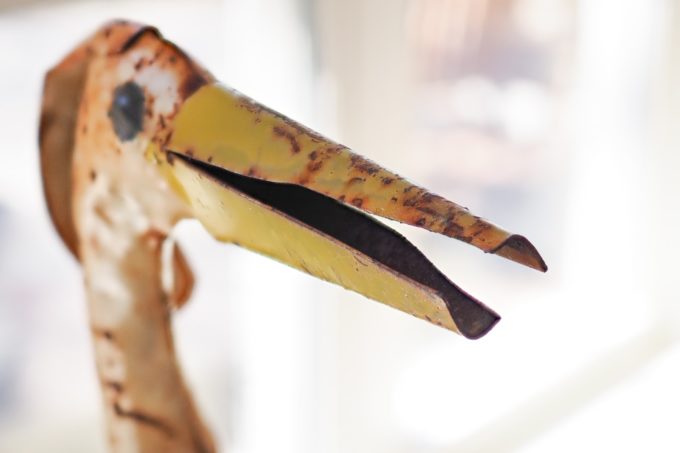
The two last pictures below show the same thing shot at a sharper angle, with the same settings, but the first picture is stacked and the last picture is not – note that the background is virtually identical. Also note how the bird’s beak seems to be coming forward, towards you more in the stacked picture, the 3D effect at work.
Of course not every macro shot needs or wants the effect of stacking. But when you find a shot that it works on, what a thrill it is to be able to do this. And being able to do it handheld is kind of mind-blowing.
I really hope that whatever technology Olympus has brought to focus stacking can also eventually apply to something akin to hi res mode. The idea of a handheld 50 mp equivalent photo is very appealing to me. You learn over time that shooting with focus stacking is often as forgiving as without, quite a feat. It wouldn’t be too great a leap to imagine that this could be a road to resolution improvement – rather than trying to jam more and more megapixels into a sensor, take multiple shots and correctively stack them. Obviously it would be super-challenging to have it work on action shots, but the faster the camera could shoot, the more types of shots it could be used on. Getting it to work on portraits would be key (in fact my next attempt with focus stacking is going to be portraits). Given the blazing speed of the EM1 11, it would certainly seem to be a perfect candidate for this sort of thing.
Tim

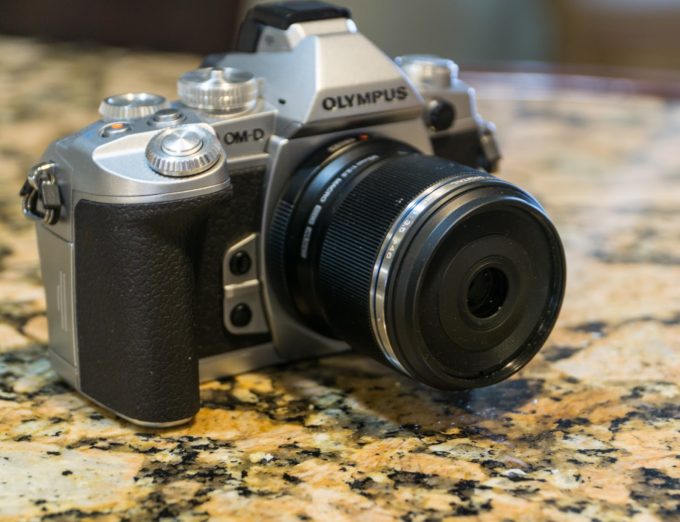


Actually the EM1 Mark 1 does not support focus stacking with the 30mm F3.5 macro lens, it does support focus bracketing with the lens though. Only the Mark 2 supports focus stacking with the 30mm, why? Only Olympus knows..
WOW!
Having a couple of in camera stacking-compatible lenses, I still haven´t tried this fine function out…shame on me! Must get out and “just.do.it.”
Tanks for the well written and well describing article on this!! 😉
Note:
1.The camera shown isn´t the E-M1 mk2, it´s the E-M1 “mk1”. The same as I have, fwiw.
2. In the text above the third “coin image”, the one where the stacking that was done by the camera is shown, you say “in the above picture”. I had to take more than a few second looks to get that you referred to the image below, (the third), and not the one above (the second).
It may be a good thing to have that corrected for clarity if others tune in and read this..
Again: Thanks for the inspiration for me to get out and actually use this feature!!
Interesting technic, I didn’t know it.
you say “But when you find a shot that it works on, what a thrill it is to be able to do this.”
Then show us an image of a remote control, coin, shells and god knows what that bird thing is….
Someone needs some creative inspiration….fast.
The man showed the technique and we understand it. Why the need to be critical?
Good article. I wish my Em5 II could do this. I does have focus bracketing, but in-camera stacking would be so much more immediate and fun.
As others pointed out, that camera appears to be the original Em1. I think the Em1 II offers even higher resolution stacks, but I’m not sure. Too expensive a camera for my needs, but I’m hoping the next Em5 model will include the stacking feature.
The sjifting could be
Focus Breathing (???)
https://northrup.photo/gear-basics/lens-features/focus-breathing/
Thank for sharing, and if you do find out what caused the shifting pls let us know.
Maybe it’s a typo, but the camera picked isn’t the Mark II, it’s the Original.
Very interesting. It seems that, in many cases, it’s better to get it right in the camera than fart around with software. It would be true to say that you can’t do this with moving subjects, but that restriction applies no matter whether you’re using the camera or software.
BTW maybe the skewing you are referring to is a result of lens breathing, which means that the lens changes its focal length as it changes focus. (Cinema lenses usually do not breathe at all, but that’s a different story).
Each pixel on an image is made up of 4 color sites (Red, blue, and two greens in a rectangular layout). A high res shot uses the image stabilisation hardware to take 3 additional images (after the first one) shifted by 1 color site, then another 4 shots shifted by half a pixel from the first 4. End result, 4 shots with individual color data for each pixel (rather than 4 merged/extrapolated color data) plus 4 ditto displaced by half a pixel across and down. For more detail, see
https://www.dpreview.com/reviews/olympus-om-d-e-m5-ii/4
Point being: Since high res is using the image stabilisation hardware for a different purpose, it’s very unlikely that Olympus will ever be able to combine both functions at once.
Thanks for sharing your technique. I recently bought the Olympus 30mm macro myself and totally agree that this is a little gem of a lens. I haven’t tried focus stacking yet, but just recently went out to try the Olympus hi-res shot and was literally blown away. This is great technology, and the fact that Olympus is pushing it out there at the current price point, is quite commendable.
I think, the effect of the ‘image shifting’ is because of the same effect one gets when the point you are focussing on, has shifted and what you are focussing on, is at an angle to the lens, which kind of shifts the perspective very slightly. If you took these shots absolutely parallel to the lens, you may not see it. Sorry, don’t think I can explain it more concisely than that!