Hasselblad Xpan, a print solution.
By Dirk Dom
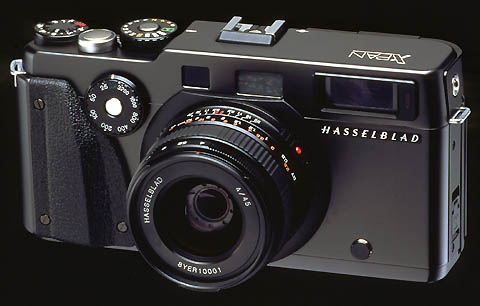
The Hasselblad Xpan is a panoramic rangefinder which makes 65 x 24mm images on 35mm Together with the Mamiya 7, this is my absolute favorite camera. A problem is: what do you do with its output? The panoramic format doesn’t lend itself to standard stuff.
Here’s a solution which works real well for me.
Scanning.
I use an Epson V750, scan at 2.700PPI. That is resolution enough for a 24 inch print.
Printing.
I used to paste two images together on a 30 x 45 cm print, and have it printed on a Fuji Frontier. But these prints were just too small, and I had no solution to present them, so it wasn’t any good.
After two trips to san Francisco, Easter and Summer 2015, I decided to go without compromise. I was going to make a real album with 24 inch prints.
Here’s how I did it:
I scanned my images and photoshopped them. I looked at them at 200% and got rid of the tiniest faults.
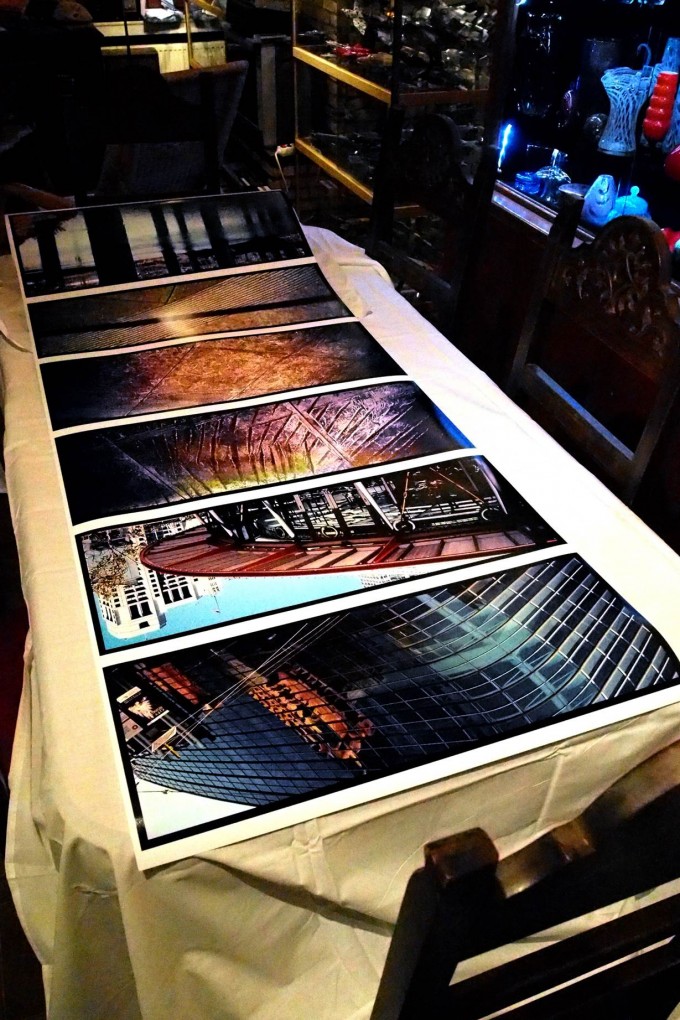
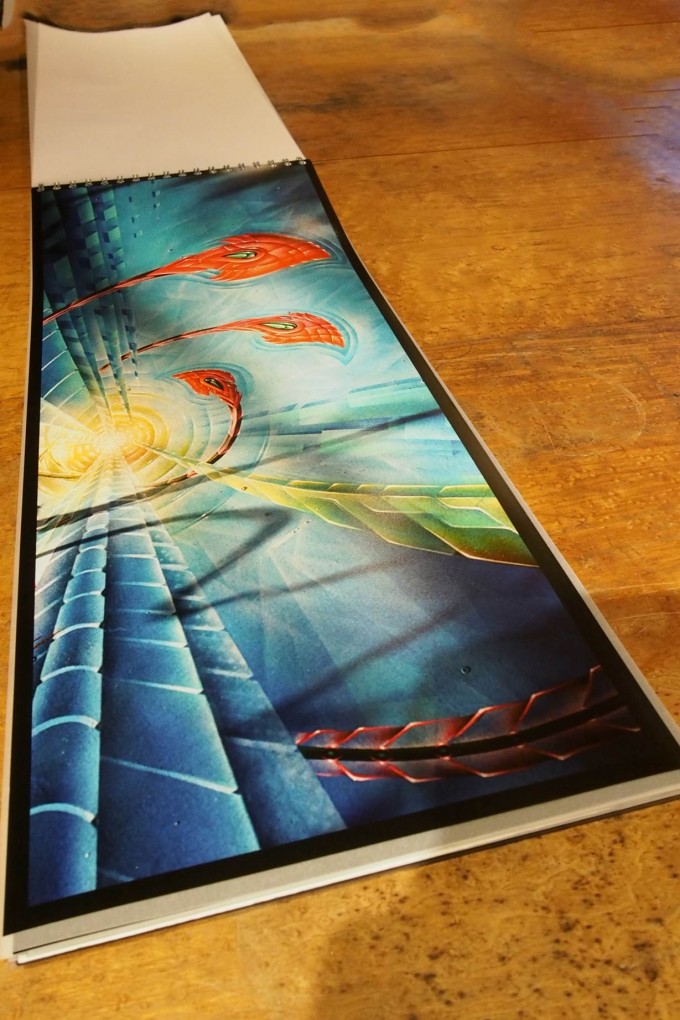
Printing image by image on a 24 inch roll of paper made for lots of paper loss, so in Photoshop I combined the images in huge prints of ten, with 1 centimeter of white in between. I can tell you these 2.5 meter prints look real impressive.
The prints were made on a very high quality inkjet printer with archival inks and on Permajet Oyster paper. I didn’t do this myself, but had it done by the company Kodec in Belgium, who are real masters. I have a 24 inch Eizo screen and the image on it is 100% the same as the printed result, so I don’t need to have tests made.
I bought myself a paper cutting machine and cut out the prints.
I bought 100 grams tracing paper to put between the prints and cut that, too. The prints were 604mm long, I got two sheets out of A1 size tracing paper. All the cutting was done in two hours, I could have never done it without the paper cutting machine.
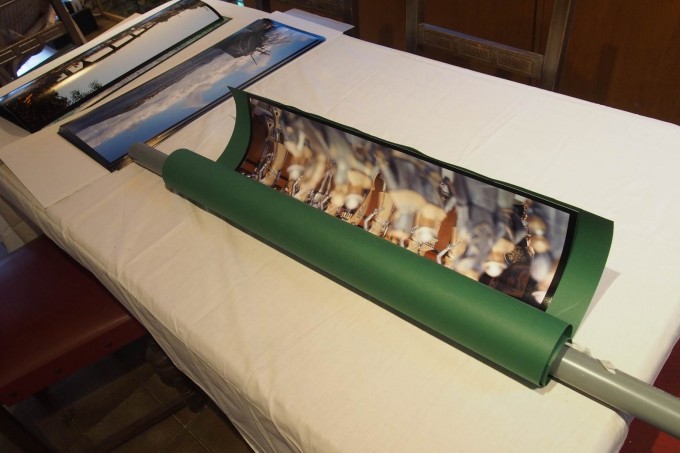
The prints came from a roll and they had a curl. I first put them under a flat board for a week, but that didn’t help. After looking on the Net, I discovered you need to reverse curl the prints. I experimented a bit. The photo shows how I did it, between rolled up drawing paper.
You need quite a small curl radius: first I tried 6 cm, then 4, and only with 2cm it worked and the paper went flat. I used a plastic broomstick of 2 cm diameter on which to reverse curl. I rolled and held for two minutes. Of course I did all print handling with white cotton gloves.
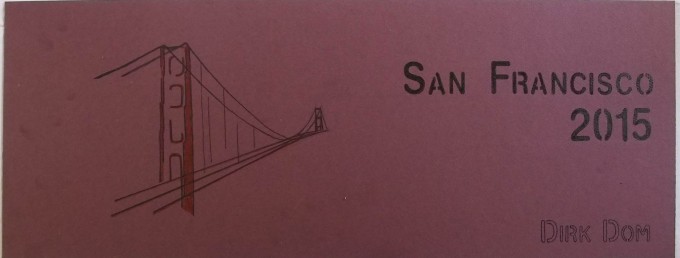
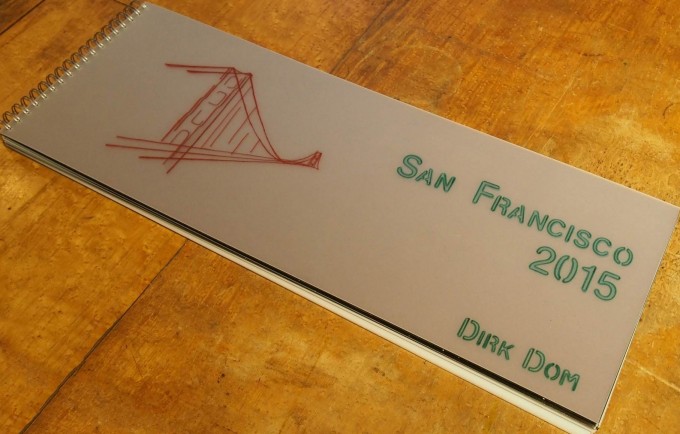
I made front and rear covers in matte cardboard. The bridge drawing I got off the Net.
Everything was now ready to bind.
I used a spiral (Wire-O) bind because I wanted the photo’s to open completely flat. I had a plastic cover put over it. The binding I had done at a printing shop. There are two options to bind the book: either you put the binding to the left, which makes the book open 1.2 meters, or you make the binding on the top, like a calendar. I thought the part above would interfere with appreciating the shots, so I chose a binding to the left.
This is the result:
Although it’s very clearly visible that this is a book which is self-made, it handles perfectly. The pages turn over very smoothly, and the tracing paper stays nice and flat. To me, it’s a success.
The 24 inches are a perfect size for the Xpan photo’s. Xpan panorama’s need 24 inches for their WOW! Factor to come out. I can now take my prints anywhere, and even let people handle them. I’m thinking of converting all my portfolio’s to this bound shape.
The book is a bit too big to carry around, I’m making a cardboard box for it.
How much did it cost? Well, not cheap. The book has 36 prints. It cost about 800 dollars, of which 300 went to buying the necessary tools. These, of course, I can use again.
I researched having a panoramic album with prints this size printed commercially. There are print services for it on the Net. The price is the same as this DIY book and they look very beautifully made. They open flat, but the panorama is printed across two pages and has a fold in the middle. I was 100 % sure the print quality of my book would be outstanding, with the commercial work, you have to wait and see. So I chose the DIY option.
Well, Xpan users, this is my solution to the print problem.
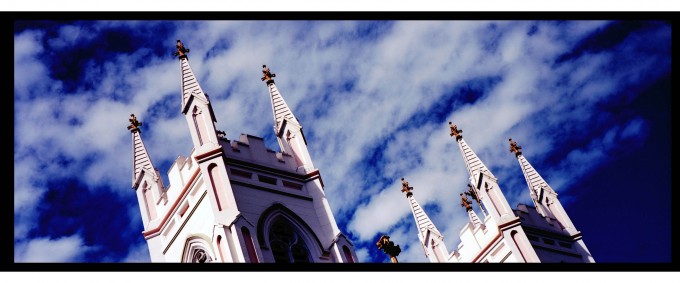
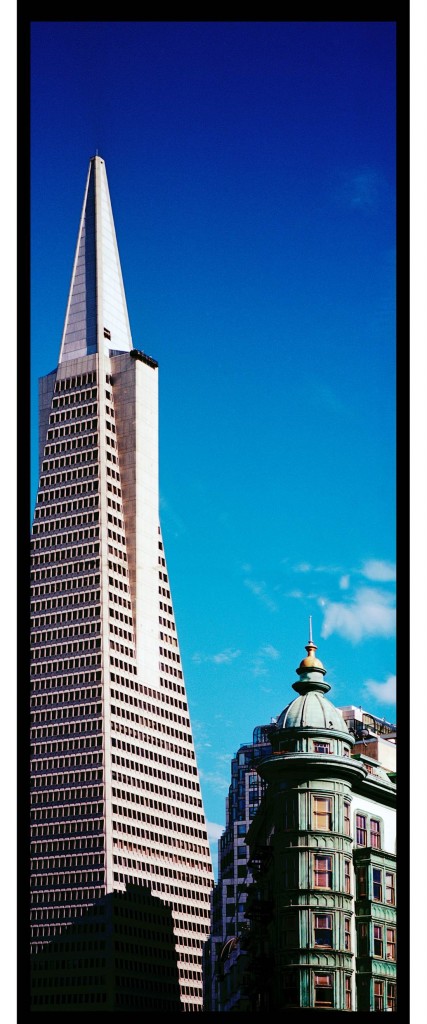
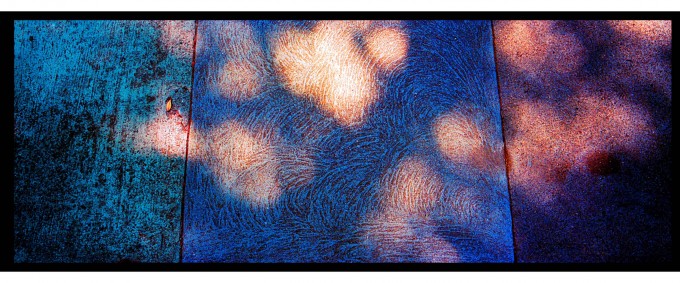
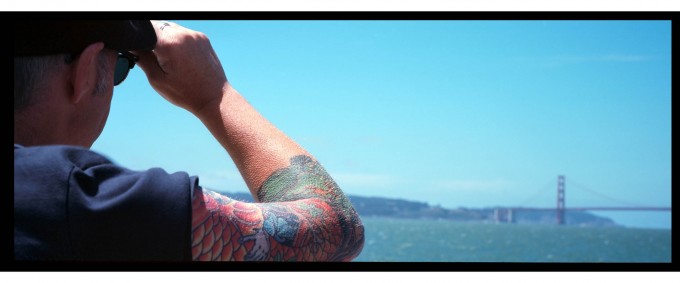
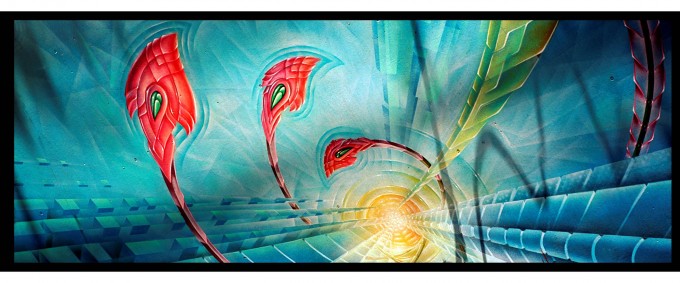
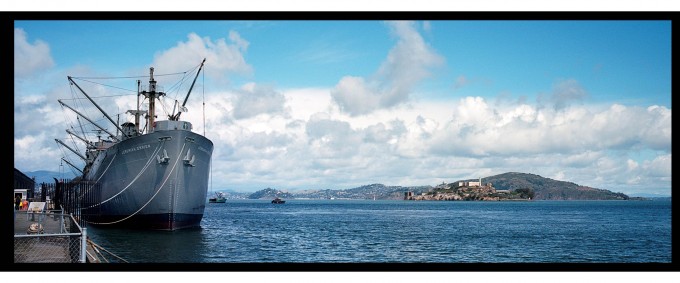
If you’ve made it this far through my exposé, you deserve a little reward. Here’s some shots I made with the Xpan in S.F. All Kodak Ektar 100.
I have both the 45mm and 90mm lens, I used the 90 (equivalent to 50mm on full frame) about 80% of the time.
Thank you,
Bye,
Dirk.



Very Cool
The “digital XPan” already exists – it’s called a Sigma DP0, which has a 21:9 framing mode. This is close enough to the XPan with 45mm lens (a bit narrower, half way between 612 and XPan ratio). And the Quattro sensor renders just like slide film (and like slide film is hopeless about ISO400 🙂 ). I’ve been a constant XPan user since 2000, and I’m pretty happy with the the DP0….
By the way, Dirk, Pinnacle (in UK) manufacture several sizes of panoramic format fine art print paper (A4 and A3 height, width corresponding closely to 24×65)
Great work and an inspiration for others!
Beautiful work, Dirk. You are an inspiration to us all.
Inspiring! It may sound costly, but you’ll cherish the album for the rest of your life.
Look at all those magnificent prints – everybody reading this :Promise yourself to get some of your favourite images professionally printed. Go to the top people and spend the funds – only a few images you will love the results for ever !
Looks grea
Thanks for posting this Dirk.
I want to shoot more film and have several MF cameras, but processing is a problem so I have been looking for a XPan for a while, so I could use 35mm film which is a little easier to get processed.
What I did not consider was the 90mm though having always thought that should the day arrive and I could get one, I’d be getting the 45mm. Thanks for opening my eyes.
I’m learning that taking pictures and learning what gear to use has to eventually lead to something more than storing images on my hard drive. Turing your prints into a tangible creation is what makes a photographer an artist. Even though your book may look handmade I’m sure it is awesome to have and look at. Nice job!!!!
THX Dirk, excellent work of Passion for Photography!
Printing books out of my photo’s(files) is what it is all about for me, as I don’t make a living out of it….
Myself not so handy with either scanning/printing,papercutting I use photobuch.de for printing my photos (German made 😉
Since years I’ve been printing books of any type with them, and their A3 size books makes it possible to have 120cm landscape pictures on your lap or table. Even up to 250+ pages in one book! Yes, massive books, for many many hours on the couch with a cuppa (-:
Greetingz
I really like the way you bring it all together. I am a beginner with photography, but I think the information contained in this message was very good. I’m sure you have a great deal of experience with this product. I enjoyed reading your message, and like to say that thanks for sharing.
Very cool!
Thanks a lot for the interesting and instructive article (and the great pictures of course), it’s way more interesting than the umpteenth review of the newest “exiting” mirrorless camera 🙂
I wish there were more posts about what you can do with your images. No photoshop tutorials (there are plenty of them), but printing suggestions, paper and inkjet reviews or tips, framing, formats, binding options etc. Most amateurs would benefit a lot more from that then from a new camera I guess, so thanks again 🙂
Everytime i saw the results drom Xpan, it makes me want to have one.
I wonder why we can’t found the digital substitute of this. The original is too expensive for me.
Your composition is amazing, and nailed to took that vertical photo.
I like the way your gave it black border. It gives strong contrast to the photo. I agree with you with the quality of Eizo screen. I was happy with my 27″ Dell monitor, until i saw my friend’s Eizo screen. Gamma level is much more better on Eizo.
Your story tells me that too many images stay in notebooks, files etc. and never get out on print. Just a pity. I’m guilty too!
Interesting solution and great images. I’ve always wanted an XPan… but usually shoot a Fuji 6×7 and crop as a substitute. I would love something like a Linhof 6×12 but it’s hard to justify the cost. Ever try some higher detail B&W film like PanF or maybe Silvermax in it?
Hi!
To me, it’s Always a very hard choice to choose between the Mamiya 7 and the Xpan as the 7×7 image, panoramically cropped, is just as big as the Xpan film size. I think it’s difficult to imagine panoramic aspect ratio when looking through a 6×7 viewfinder, but i guess you can perfectly tape it off. For people who have a digital camera and want to shoot panorama’s, they could tape off their screen.
BTW digital stitching doesn’t always work: how do you do people, fireworks, waterfalls?
Bye,
Dirk.
I have a Xpan – not much used any longer. You just gave me the impulse to wake it up. Thanks a lot !
Ditto!
Fantastic work Dom!
Printing images is the only way they become real.
Best regards
Huss